Part of being a responsible pet owner is maintaining your furry friends wellness and hygiene, and that goes beyond baths and snaps in a flea comb.
Ear hygiene is one of the most overlooked aspects of caring for a dog that can have a major overall impact on your dogs health. So keep them always clean its not only save them from infections also they will be more comfortable with this.
This guide will explain why you have to do it, when to do it and how to do it, and provide you with everything you need to know for properly cleaning your dog’s ears, as easy and helpful as possible.
Do Your Dog’s Ears Need to Be Cleaned?
Dogs With Problems with their Ears Especially breeds with floppy ears or hairy ear canals are more prone to ear problems like infections, wax build up and ear mites.
And if they are not treated, they can create discomfort, or even lead to pain, and in some cases loss of hearing.
Routine ear cleaning can eliminate dirt, exorbitant wax or garbage that could prompt ear contaminations and in doing so it keeps your canine top in the health of their ears.
When to Clean Your Dog’s Ears
How often your dogs ears should be cleaned also depends on what breed, lifestyle and special needs your dog has.
Ear Cleaning Clean your dog’s ears every month or as needed with the presence of any symptoms such as redness or swelling, a dirty smell, or intense scratching that may indicate an ear condition.
Some dogs might need their ears cleaned more than others especially if they swim a lot or had a problem with ear infections in the past. Talk to your vet about the best ear care protocol for your pet.
Preparing for Ear Cleaning
-
- Canine ear cleaning solution (ideally advised by a veterinarian)
- Pads or cotton balls
- Wipes or towels
- Candy as a means of encouraging behavior
- If necessary for a nervous or unruly dog, restraints
Dog Ear Cleaning Precautions
-
- Do not clean your dog’s ears with cotton swabs or other sharp objects as they can damage the ear or deeper material:true.
- Only use dog ear cleaning solutions approved by a veterinarian. No alcohol, hydrogen peroxide, or home remedies — Vetericyn Plus Ear Rinse does not contain these substances that can bother the sensitive tissues of the ear.
- Visit your vet before cleaning your dog’s ears at home if your dog has an ongoing history of ear infections or other ear problems.
- The most important things to remember are to be patient, to be gentle, and to take your time especially for timid dogs or for dogs who are having their ears cleaned for the first time. Take breaks when necessary so you and your pet have a great experience.
- Check your dog’s ears often for signs of ear problems, and seek veterinary care immediately if you notice anything unusual.
How to Clean Your Dog’s Ears
Select the appropriate time and location
These are not suitable for bedroom ear cleaning sessions and choose a quiet, well-lit area for the ear cleaning session Comfort and Ease for your Dog
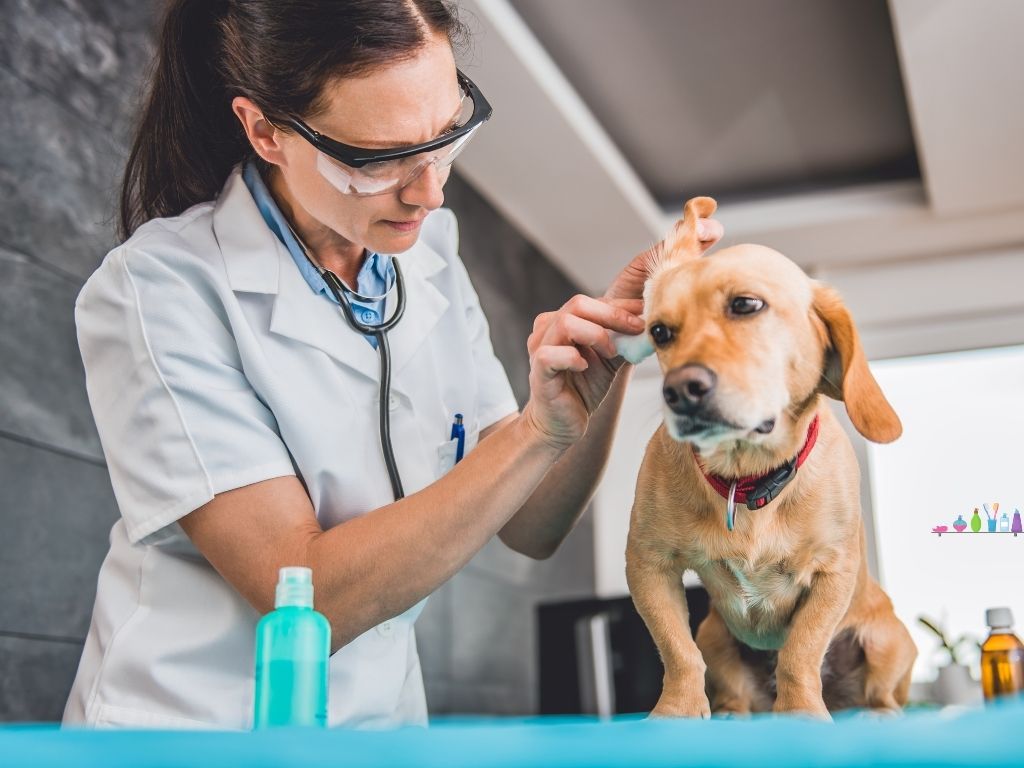
Check Your Dog’s Ears
Look in and around your dog’s ears, if you notice any signs of redness, swelling, discharge or odor.
If your dog seems in any kind of pain or if you see anything out of the ordinary, talk to your vet before continuing.
Restrain as needed
Depending on your dog, you may need to hold them still during the cleaning process. This can mean using a leash, a harness, or help from someone else.
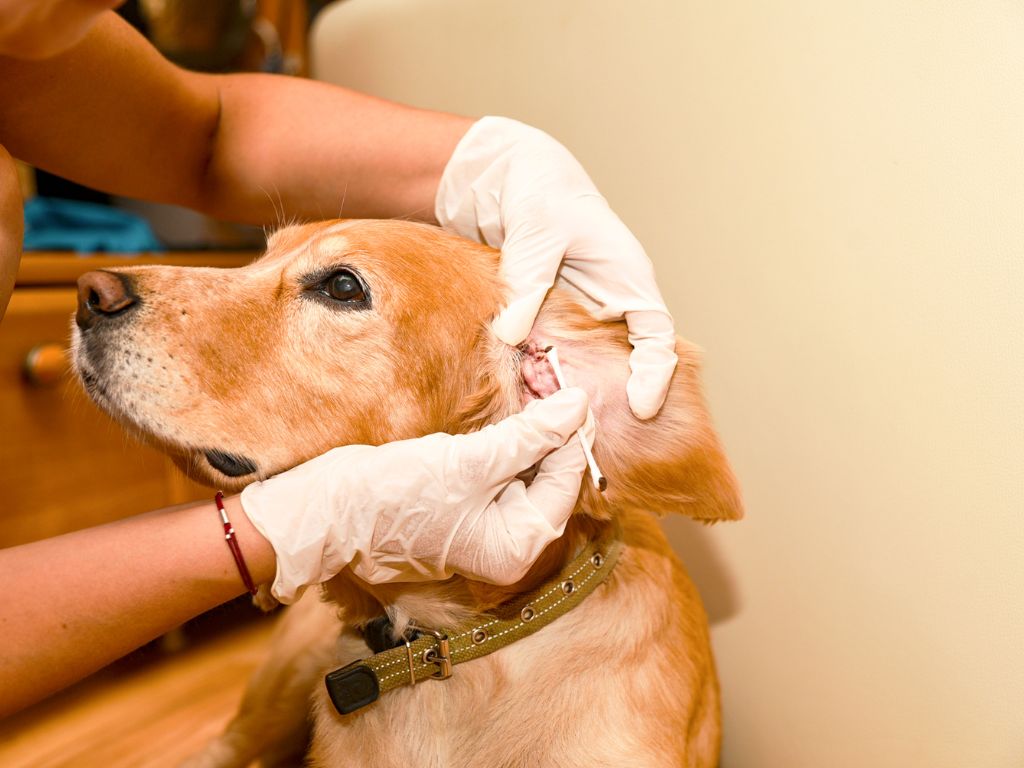
Apply Ear Cleaning SolutionGrab
the pinna of the earflap and apply a few drops of the ear cleaning solution in each ear canal.
Make sure you use something approved for dogs, your vet can recommend something. Do not place the nozzle too much inside the ear canal.
Massage the Ear at its base
Lightly massage the ear at its base for 20-30 seconds. It will allow the solution to get in the ear canal and help break up the waxy residue.
Allow Your Dog to Shake
Once you have massaged for a while, offer your dog a head shake. Move the head for a moment in order to dislodge free debris and any solution that remains behind the ear canal.
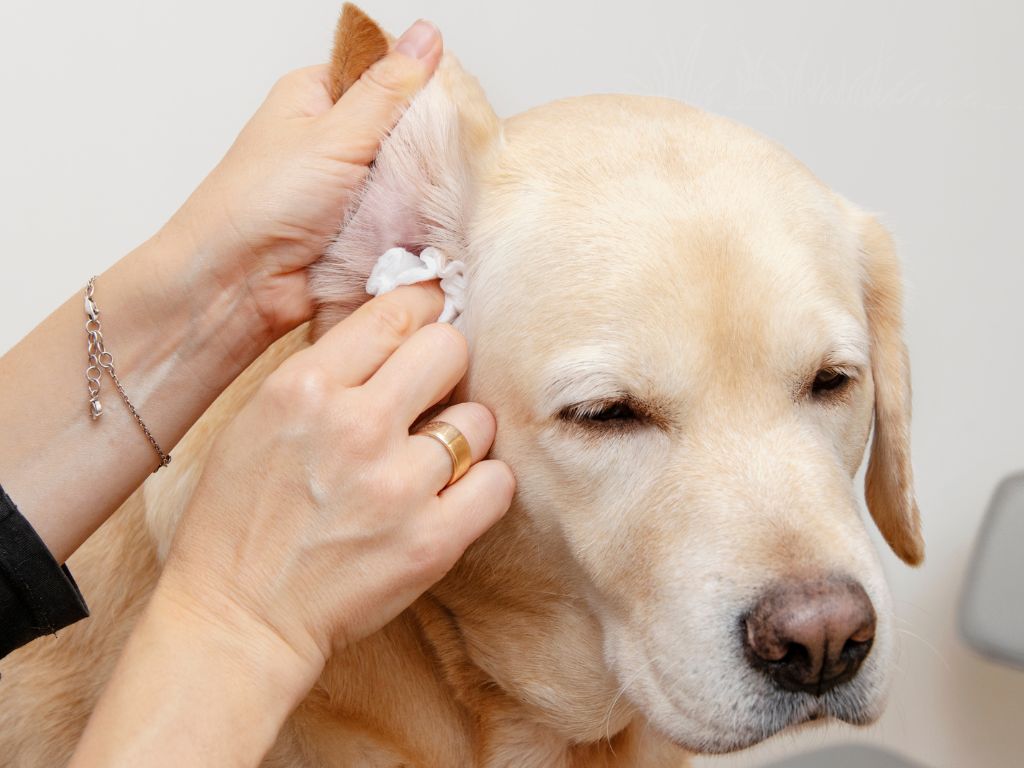
Wipe the Ear
Wipe the areas you can easily see the top part of the ear canal and outer pinna or ear flap with a cotton ball or cotton pad.
Do not insert into ear canal as this can result in injury To avoid cross-contamination, use a new cotton ball or pad per ear.
This will need to be done again if his ears are very dirty in case the cotton ball comes out dirty.
Give Treat To Your Dog
After Cleaning The Ears Of Your Favorite Then Give Him Some Treats, As A Treat For Cooperating With The Whole Session wp etc.
This can help them to have a better association with having their ears cleaned.
Check For Problems
Watch for any signs of problems in the days after doing it to be sure there are no signs of irritation, infection, or pain.
If you see anything differently, seek veterinary help immediately.